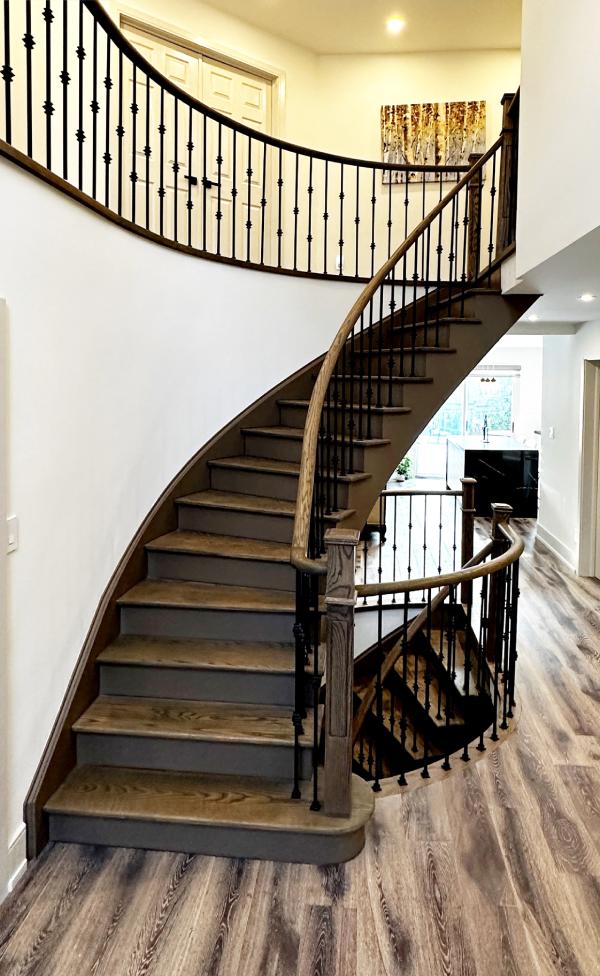
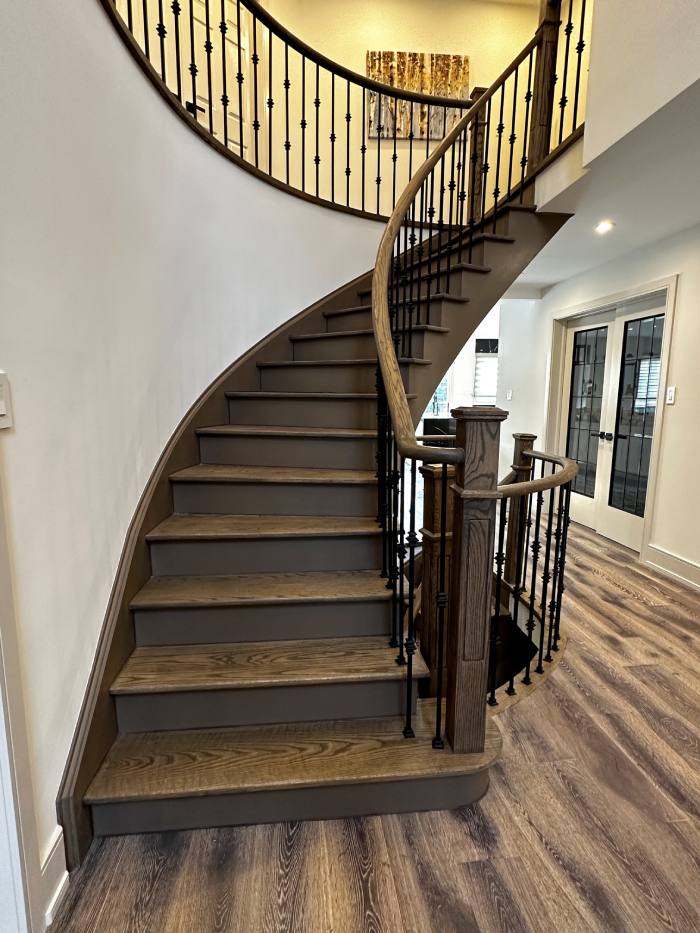
Your wooden staircase is almost like your home’s lifeline. It contributes to the aesthetics while bearing the brunt of heavy foot traffic. When left unattended for an extended period, wood stairs can leave large, blotchy marks that are extremely unsightly. Some paint their staircases in various colours, which can leave a mark. When refinishing wood surfaces, stairs are frequently ignored. It can be uncomfortable to do without them for even a day or two. This weekend, give your stairs a facelift with a new coat of paint or stain. Read this blog for tips.
1. Get the Area Ready
Removing anything close to the staircase is the first step in staining and painting stairs. This includes home decor components like rugs, furniture, and fixtures. Once you start sanding off the old finish, there will be a lot of dust in the area. To prevent dust from spreading throughout your home, you should seal off the site as much as possible. Alternatively, you could always rely on Interior Painting Aurora experts to do the job for you without any problems.
2. Prep the stairs
The existing finish on the stair treads must be stripped off in the second step of staining and painting your stairs. You can do this by sanding or using a chemical stripper. Use medium-grit sandpaper or a sanding block to begin slowly and evenly sanding with the grain of the wood to remove minor nicks, dents, and the existing finish. Sand the wood until it is completely bare of finish. Then, lightly sand it once more with fine sandpaper.
It is simpler to use chemical strippers. Before using, make sure to follow the instructions on the product because most chemical strippers require mixing with water. Once the old finish has been removed from the surface, wipe it down to leave the wood bare and allow it to dry.
3. Apply stain and finish
Stain the treads according to the manufacturer’s instructions. To find out how many applications are required, carefully read the instructions. Apply two coats of polyurethane varnish to the surface after staining your stairs. Repeat the same process after the last coat of stain has dried. For the polyurethane finish, carefully adhere to the preparation and application instructions provided by the manufacturer. Before applying, lightly sand the surfaces with a sanding block or fine-grit paper. Reapply a second coat and allow it to dry overnight or within 24 hours. Your stairs will then be ready to be used.
4. Prime and paint the stair risers
Even though painting stairs can be difficult, doing so while staining them will be particularly difficult. Make sure the surfaces of the stair treads are dry before you start painting. Mask the edges where the treads and risers meet with painter’s tape. Use a small paintbrush to apply one coat, or two, if necessary, of a primer or sealer. Before moving on, let each coat completely dry (overnight). After that, add a second coat of your preferred interior paint colour. You can always ask interior painters in Markham to take over this job and watch your stairs transform in the blink of an eye.
Last Word
Necessary expertise of professionals is required to complete the process of refinishing the wood stairs. Therefore, you should hire a reputable company for the job.